Latest News
Priority Shift – Oct 2021
You may notice this site hasn’t been updated in a while. Sure, there is COVID, but also some shifting priorities. I am taking a break from scheduled instruction opportunities to […]
Nauticat 321 Sailboat for Sale in Virginia
Hi, if you found this page, you are likely interested in buying a sailboat. Maybe this is what you’re looking for – a 1999 Nauticat 321 sailboat built by Siltala […]
SOLD – NDK Pilgrim Expedition Kayak
For sale: NDK Kayak This is a Pilgrim Expedition kayak purchased new in 2016 and used by an ACA instructor for teaching and personal use. It’s in good condition, with […]
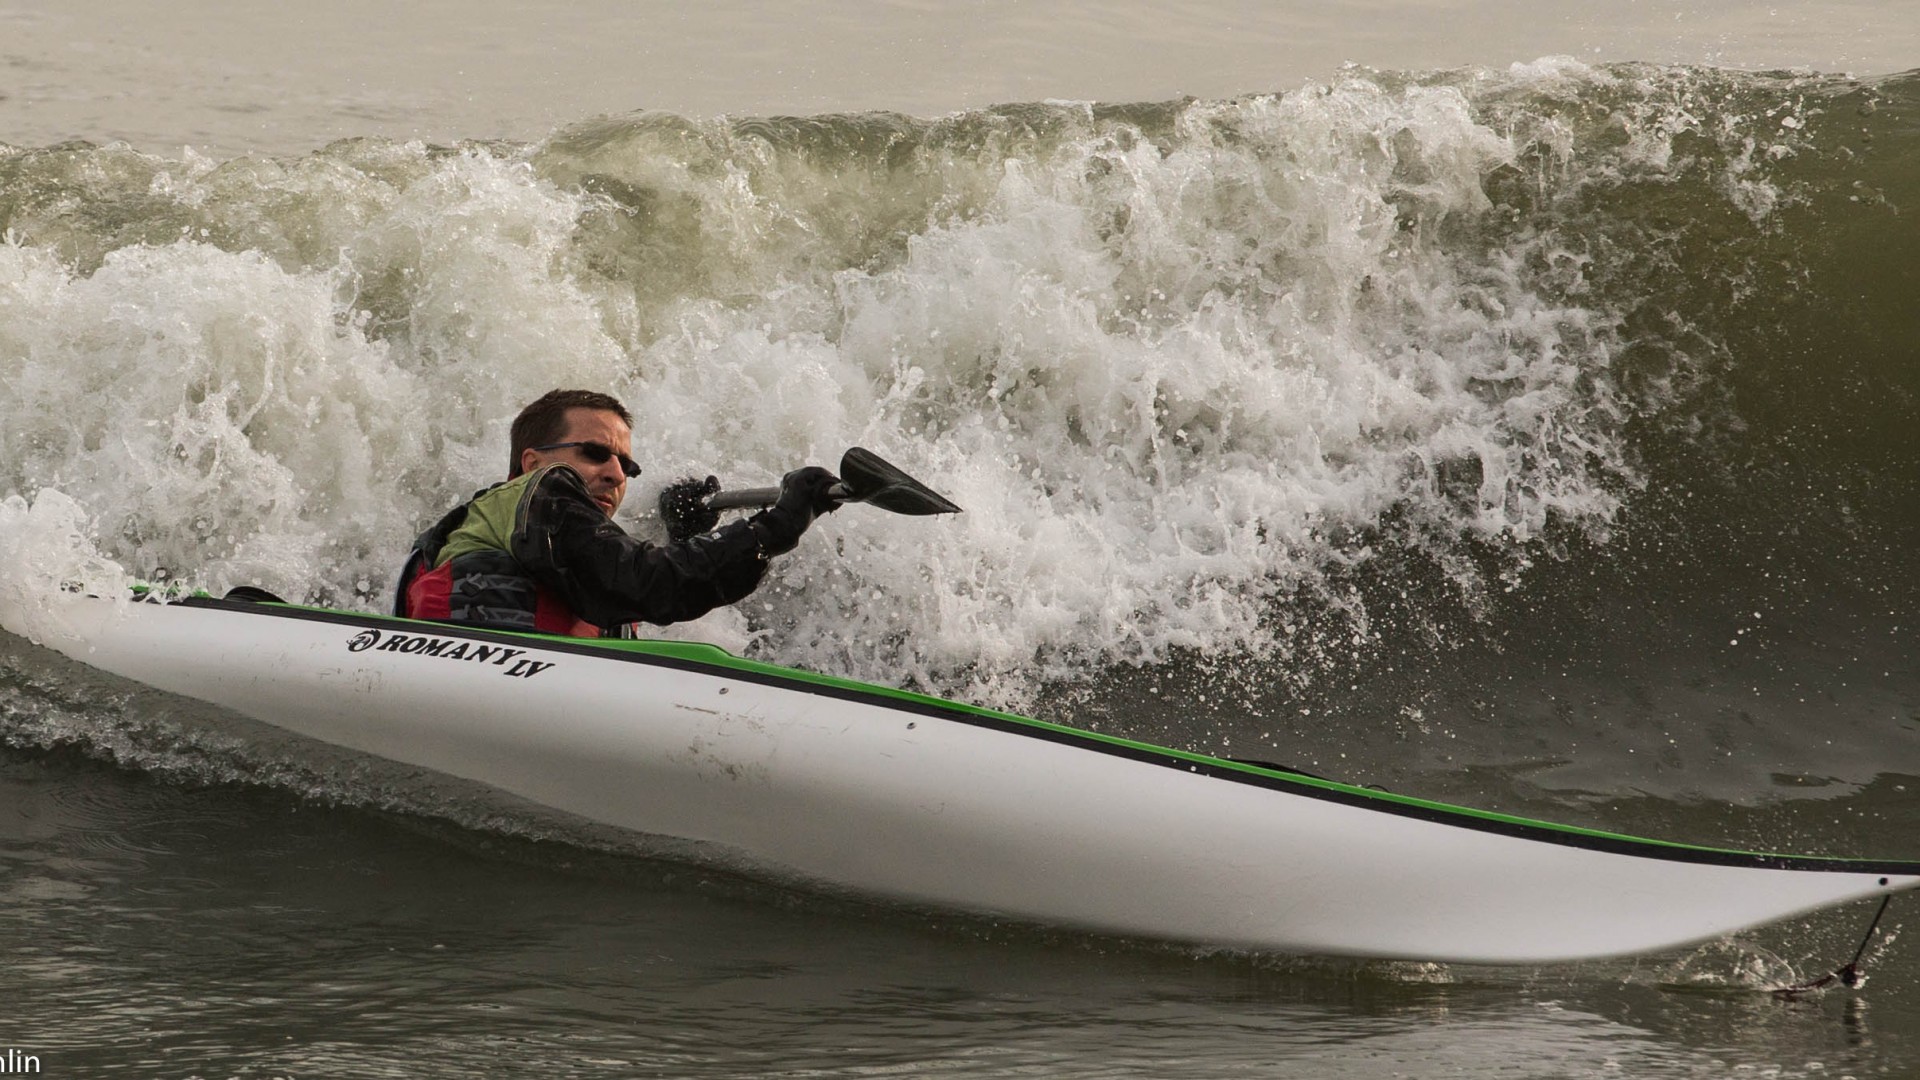
Life on The Edge Course Notes
Several students from my Life on the Edge course at the Kiptopeke Sea Kayak Symposium asked me for notes on all the things we covered, so I’m posting them here. […]
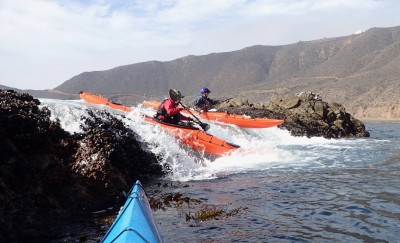
Baja Kayaking
I’ve certainly done my share of paddling around rocks and rocky coasts, from Wales and Nova Scotia, to Alaska. However, kayaking in Baja is one of the most fun places […]
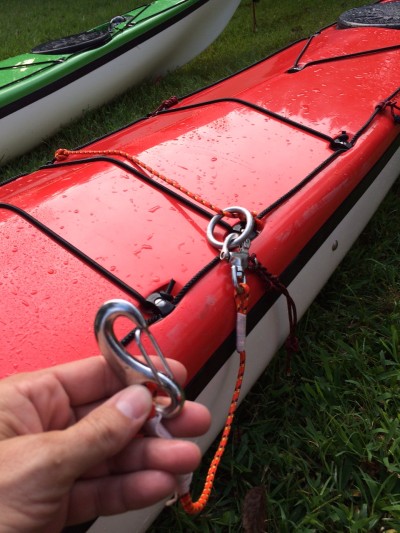
New Take on Contact Tows
I’ve been playing with some contact tow ideas for sea kayaks for the past few months, looking at what others have done and thinking about the times I’ve used one […]